yoghurt parfaits!

by mama lola

by mama lola
we’re a camping family. we like to go on short car camping stints and also camp during our road trips. i know so many friends who like going on camping holidays as well. We often get into conversations about the best equipment for camping. I knwo that allcampingstuff.com (https://allcampingstuff.com) has some pretty comprehensive guides that usually point us in right direct. They usually help and advice us on things like if tent camping is something we want to consider. However, I know there are some who like using a caravan instead. if you prefer a caravan because it’s more convient then that’s fine, it might be a good idea though to check out something like this Campsmart site to give you a better idea of what else you could get for your caravan experience. i try not to let our food choices get too convenient or junky. i always round out an order of chuck wagon fries with carrots, cucumber or apple slices. and only allow ice cream once a day! haha!
here are some of the tips and tricks i have learned along the way…
#1. MEAL PLAN!
here are some my families favourite meals while camping or on the road. we’re vegetarian, but adding meat to any of these recipes is easy enough!
BREAKFAST:
LUNCH n’ TREATS:
DINNER:
#2 EQUIPMENT & SUPPLIES!
#3 THINGS TO CONSIDER!
HAPPY CAMPING, CAMPERS!
feel free to share your tips and tricks with food while camping. i’m always keen to see what works for others!
still to come:

by mama lola
as inspired by souleMama; one photo from our week, no words, only an image to sum up our time as a family. one that captures a moment in time and is a visual reminder of where we were at this time in our lives.Â
i would love it if you left a link to your { this moment }.Â

by mama lola
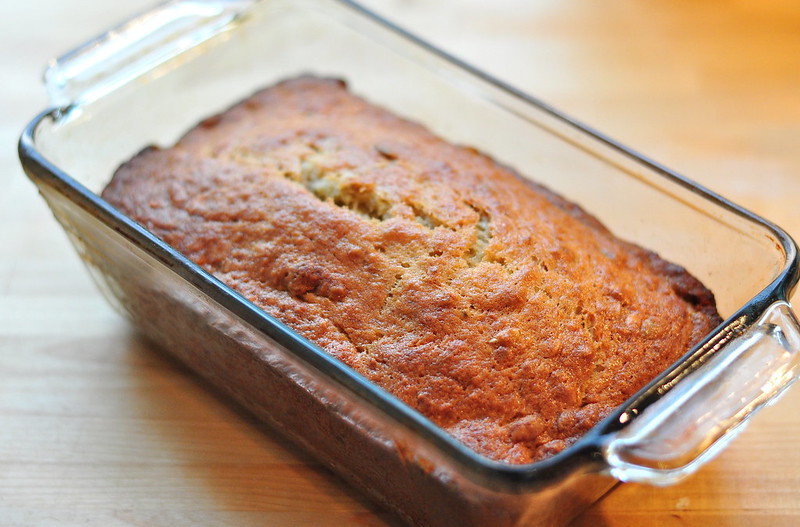
i found a recipe from here, the whole living web magazine, but as usual i had to tweak it a bit to make it my own.
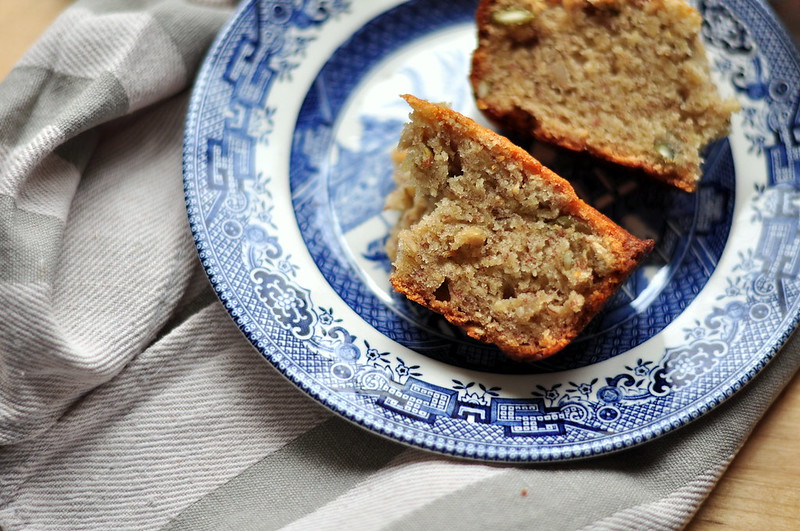
it was best banana bread loaf i had ever tasted, never mind baked myself! it was perfectly moist, just sweet enough and my family agreed as it was all almost gone by bedtime!
INGREDIENTS:

by mama lola
i organized the list by rooms in your home.
KITCHEN:
BATHROOM:
BEDROOM:
LAUNDRY AND STAINS:
OUTSIDE SPACES/ GARDEN/ BUGS:
SMELLS & STINKS & SPILLS:

by mama lola
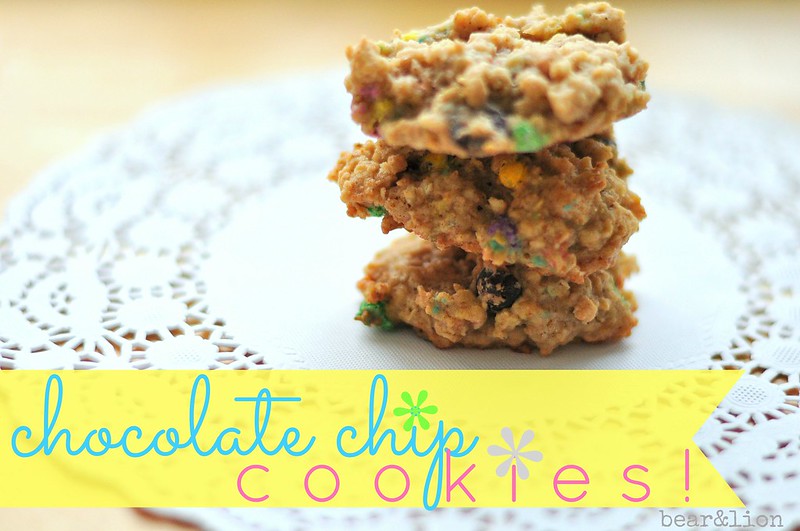
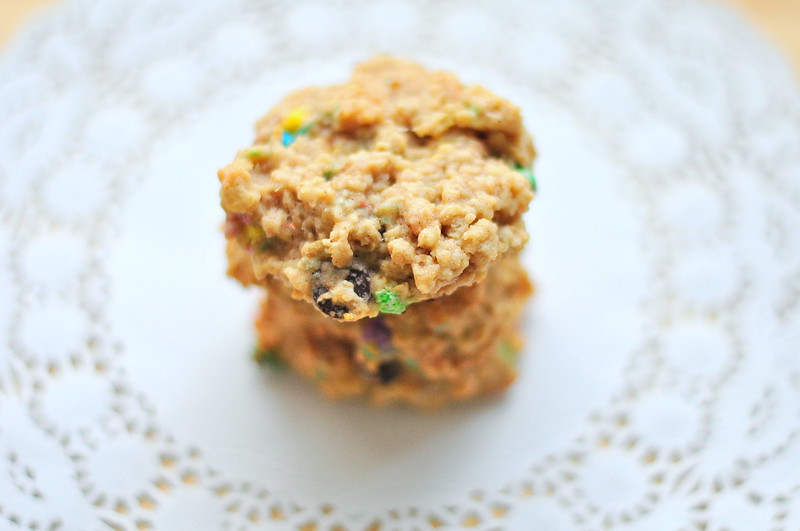
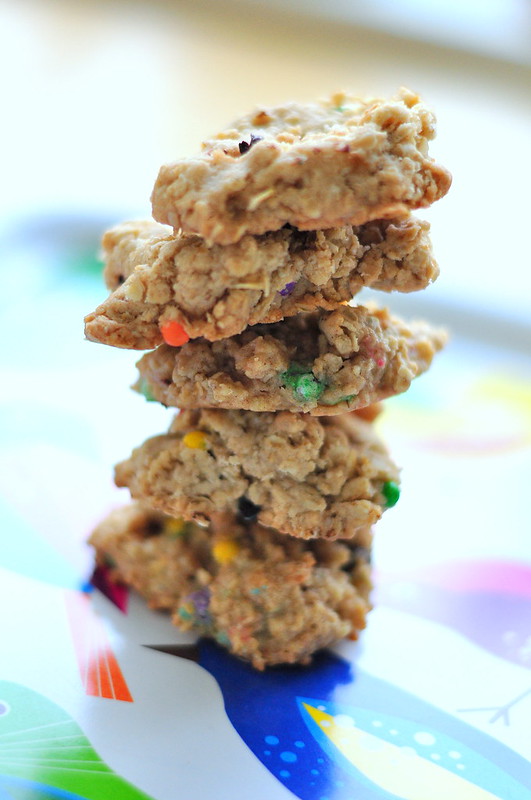
we love cookies around here and the boys love to bake them! recently we made these family faves, oatmeal chocolate chip cookies, with colourful chocolate sprinkles thrown in for good measure. this recipe is not really any different from most cookie recipes except, it is egg free!
INGREDIENTS:
1 3/4 cups all purpose flour
1 1/2 cups old fashioned rolled oats
3/4 tsp baking soda
3/4 tsp baking powder
1/2 tsp salt
1/2 tsp ground cinnamon
1 cup unsalted butter
1/4 cup sugar
1 1/2 cups brown sugar
2 1/2 tsp vanilla
2 tsp egg substitute
3/4 – 1 cup unsweetened apple sauce
1 cup chocolate chips
1/2 cup colourful large sprinkles
*optional:
3/4 cup sun flower seeds or chopped nutsÂ
INSTRUCTIONS:
1. preheat over at 350F and line two cookie sheets.
2. add dry ingredients and mix in a bowl.
3. blend and mix wet ingredients in a bowl.then add dry ingredients and chocolate chips.
4. shape dough in to balls and place about 2 inches apart on the cookie sheets, then flatten. bake one cookie sheet at a time until cookies are lightly browned all over. approx 12-15 minutes. place on rack to cool.
5. enjoy with a glass of milk!
YUM! YUM! YUM!
what kind of cookies do you like to dunk into your cuppa tea or coffee?

by mama lola
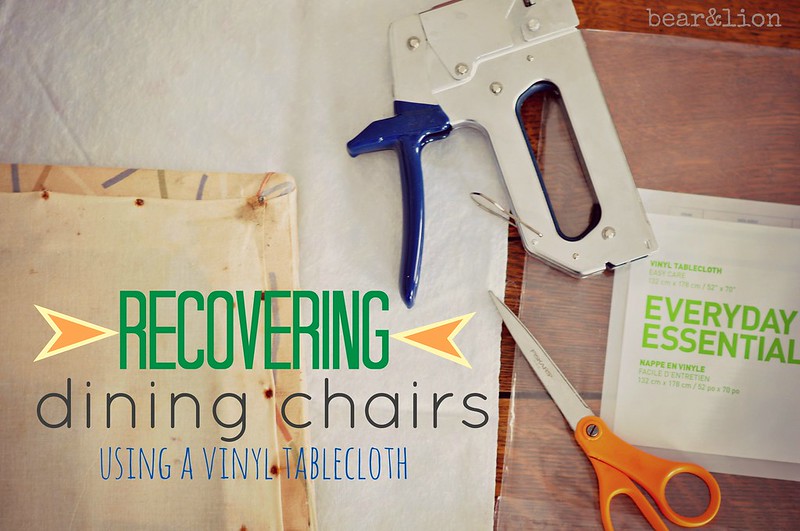
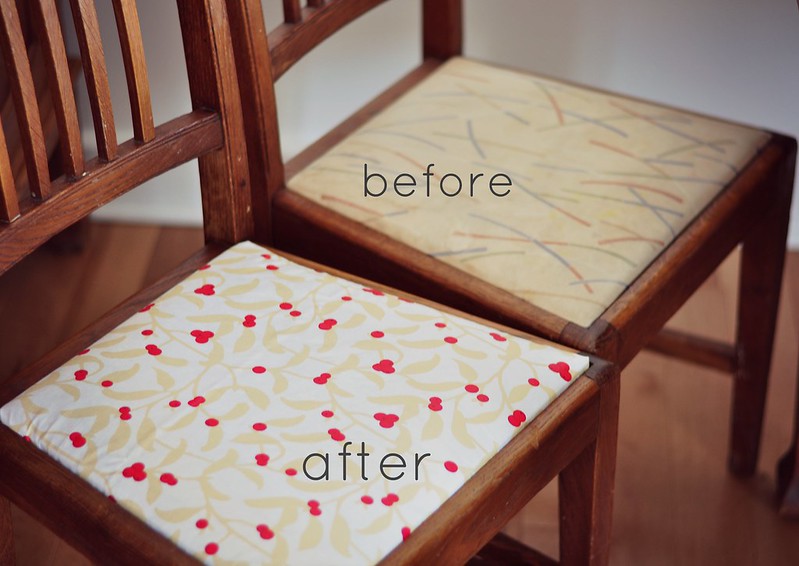
i did this project before (check out the details HERE), and i decided that i didn’t like the yellow vinyl, so i chose a slightly more neutral colour/ pattern. this dining table set is one that we use everyday, so it gets a lot of wear and tear. the kids are messy and having cloth seat covers just doesn’t make sense as they are impossible to clean properly.Â
i bought my vinyl tablecloth from the grocery store for $4!
MATERIALS:
scissors
a vinyl table clothÂ
staple gun fully loaded (extra staples on hand)
INSTRUCTIONS:
1. cut the tablecloth around the seat, leaving about a 2 inch margin. this measurement, really depends on how thick your seats are, mine are about an inch or so thick. you want to be able to fold the vinyl under the seat nice and tight. if you are unsure, be generous at first, as you can always trim the vinyl if necessary.
2. place your seat face down on the cut vinyl piece. fold the edge of the vinyl about an inch once and grab at the centre, stapling the material onto the chair a few times. then do the opposite side of the seat. this time you want to make sure you are tugging at the vinyl to ensure a nice tight, taught seat cover in the end.
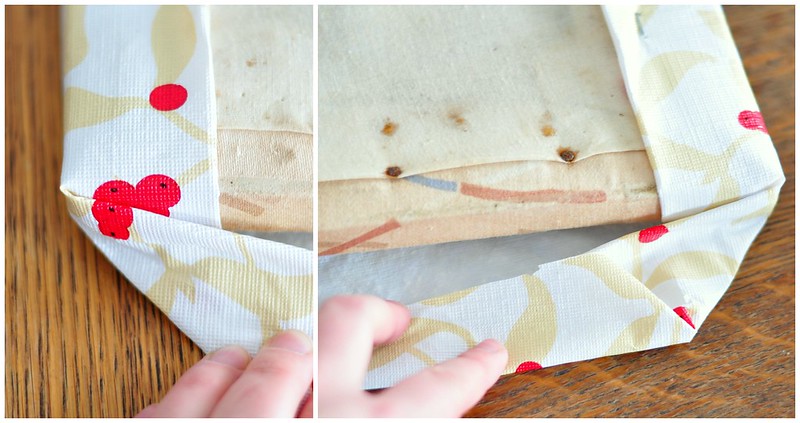
3. you want to make sure your corners are nice and tight, so that they fit back into the chair frame with ease, but also for a neat appearance. i did my corners as though i was folding a gift. always ensure that you are pulling the vinyl tightly, to create a smooth seat cover. use as many staples as necessary, as they are not visible in the end. i used a bazillion.
4. i recovered four chairs in less than an hour. my wee lion was napping when i completed this project.Â
now, our chairs are easy to clean after the kids (or adults) have made a mess!

by mama lola
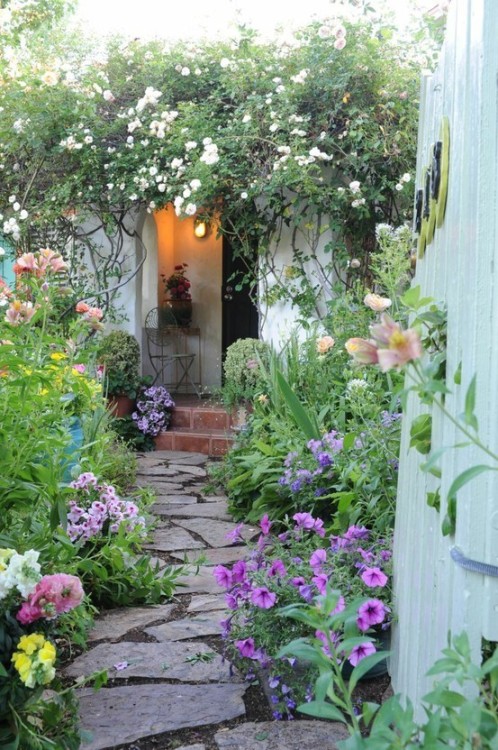
although it is actually snowing outside as i type this, i have been busy on pinterest looking for ideas on how to improve our garden. we have a decent sized backyard, but it is quite shaded. this is good for the kids, as they can play and not have to be in the direct hit of the blaring sun, but it is not so good for my tiny, pathetic veggie garden.
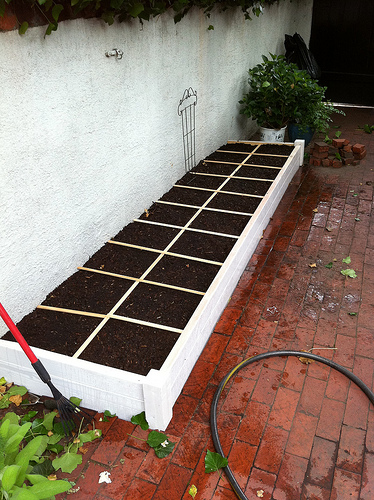
so, the plan is to rip out some patio stones next to the wall of the house that gets the most sun and build raised bed for some veggies and flowers. it will probably look a lot like the picture below if all goes according to plan. We can then use the stones in different ways. I got inspired after looking to see some examples of traditional flagstones here, and there’s plenty we can do with them! Anyway, this picture is from flickr, so no instructions, just looks pretty. I hope that our finished product looks like this as it really will help to improve the way our garden looks. After this has been completed, I may decide to enlist the help of somewhere similar to these landscape design services in Torquay to help give the other parts of our garden a much-needed makeover, so that it can be conveniently used by everybody. Don’t get me wrong, I’m happy with how the garden looks, but I just think that it could do with some updating. There are so many different things that could be done to a garden to improve it, so it’s important to keep an eye on the latest garden trends. Something I have noticed is a growth in the popularity of garden furniture, like the adirondack chairs for sale at The Charming Bench Company, so I’m seriouly considering adding one to my garden once I find the perfect space for it. One of my friends actually got some concrete walls built around her property the other day and that looks really nice. She said that the builders didn’t take long to build the wall, apparently, they just used some chemical for concrete fastening purposes, and the wall was basically done. Apparently, concrete fastners are so important as they keep the wall secure for a longer period of time. That’s good to know, maybe we’ll think about getting a wall for the garden.
But on saying that, this raised bed below is similar and comes with great detailed instructions on how to build it from old town home.
for plant markers, i actually made these last year for some seeds i started. click on the picture to take you to the original post. how cute and easy are they to make!
happy thursday everyone!
here, check out my pinterest board: grow THIS

by mama lola
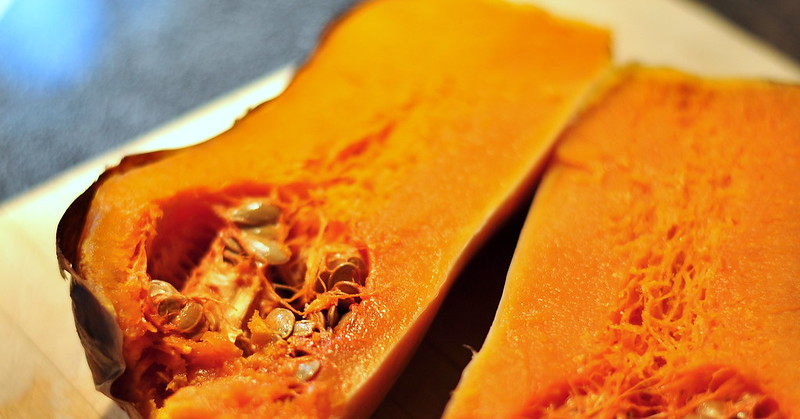
i have shared several soup recipes already, but we really are a soup kinda family! my kids adore soup and it’s such an easy dinner to make. here’s another family favourite of ours, butternut squash soup and this time i added some kale to it for an extra kick of health!
INGREDIENTS:
1 butternut squash
1 medium yellow onion
4-6 kale leaves
2-3 cloves garlic
1-3 tsp fresh ginger
4 tblsp olive oil
1 tsp coarse sea salt
1 generous sprinkling of fresh ground black pepper
1/2 tsp cinnamon
1/2 tsp curry powder
1/2 tsp cumin
4 cups water
* i’m pretty relaxed about measurements and tend to just throw however much in. during cold season i tend to be more generous with the garlic and ginger.
INSTRUCTIONS:
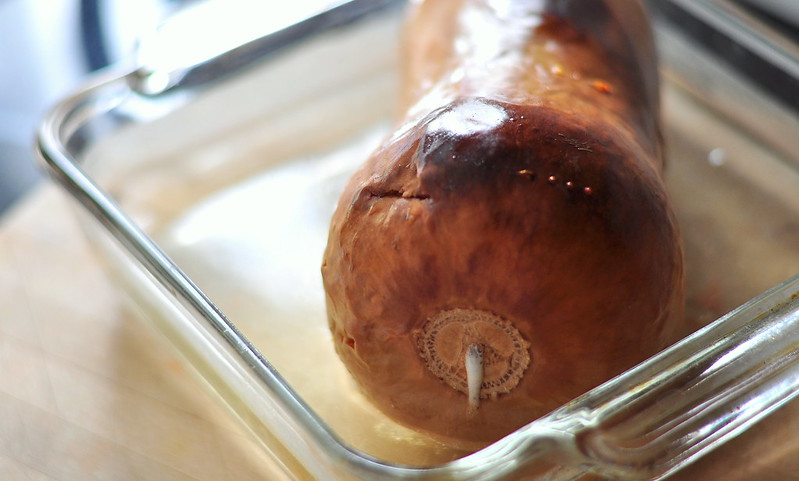
1. preheat your oven to 400F. then take your squash and stab it a few times with a fork, randomly. place the squash in an oven safe dish with about an inch of water. bake until soft.
2. once the squash is thoroughly baked (it will be soft to a fork poke) cut the squash in half and spoon out the seeds and guts. then cut or peel the squash out of it’s skin.
3. in a soup pot heat olive oil and add chopped onion. once onion is slightly browned add the squash. stir regularly, adding the rest of the ingredients and the water last. keep stirring until everything has heated through well and the flavours are wafting a mouth watering smell.
4. once the soup is cooked, take your immersion blender and blend the soup until it is nice and smooth. serve with sour cream or feta cheese on top! yum!
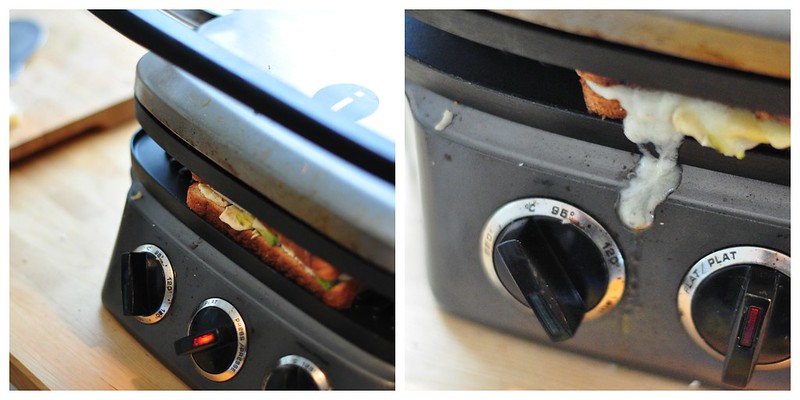
we made some yummy brie cheese and avocado sami’s to go with the soup! yum!
let me know if you try the recipe!
maybe you have your own version, would love to hear what you like to put in!

by mama lola
many people are very surprised when i tell them that sushi is my families favourite food. bear, in fact, hates cooked fish and refuses to eat it, but will happily gobble up raw salmon in a flash. strange? perhaps, but i don’t mind. it’s healthy and the benefits of salmon on his wee body are so amazing. i’m always encouraging the boys to eat more as i list the parts of their bodies that will reap the rewards… their brain, skin, muscles, hair and eyes.Â
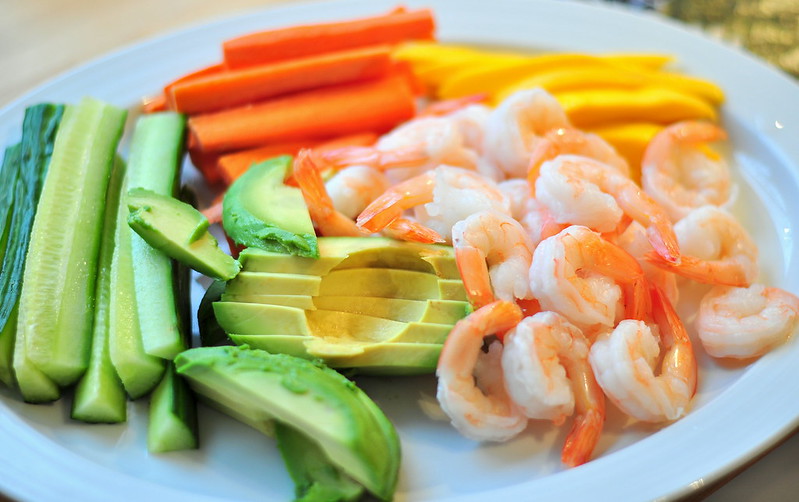
we’ve fed the kids sushi since they started solids. it’s healthy, served in perfect bite sized portions and has all the foods kids generally enjoy like, avocado, fish, and mango. Â these are all super soft, flavourful and great foods for early eaters.
anyhow so, here’s how we did it and what we made. we kept it pretty simple.
INGREDIENTS:
1 avocado
1 carrot
1 mango
1/2 english cucumber
1 package dried seaweed sheetsÂ
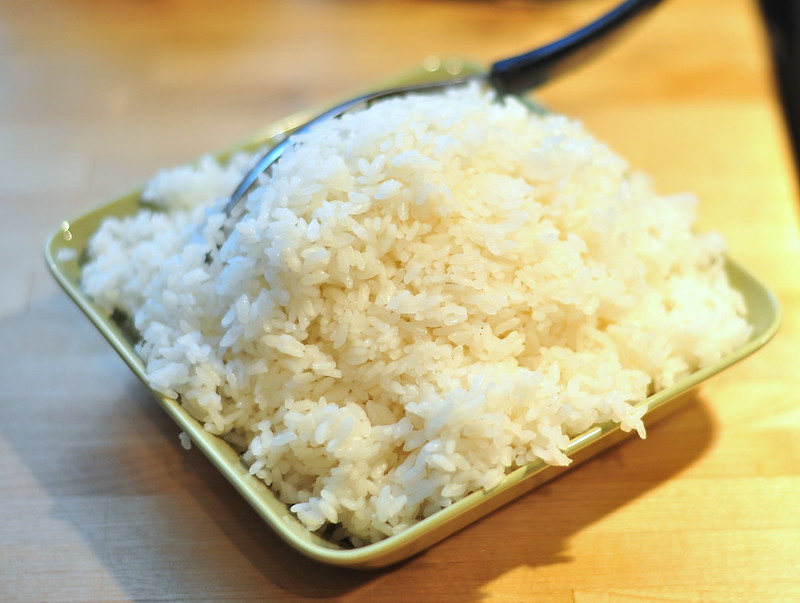
2-3 cups sticky rice
2 cupsÂ
* as desired
pickled ginger
wasabi paste
soy sauce or tamari sauce
edamame
** you will also need a sushi rolling mat or something like it to roll up the ingredients in.
INSTRUCTIONS:
1. cut and slice all ingredients first.
2. take your rolling mat, place one sheet of seaweed, then a layer of rice and finally choose which flavours you want inside. the guys chose salmon and avocado, carrot and mango, shrimp and carrot, and so on. it really doesn’t matter, just make what you like!
3. carefully roll up the ingredients. it may be useful to push down a little as you are rolling. use a little water to make the seaweed sticky and once the roll is ready, cut up into bite sized pieces.
4. serve with edamame, pickled ginger, wasabi and a sauce for dipping. we prefer tamari sauce to soy sauce.
the danger with sushi is eating too much, and we made way too much for dinner. but, these bites sized delights are perfect for school lunches or for afternoon snack.Â